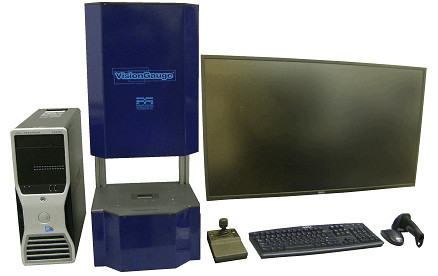
A new article about the Extended Travel 700-Series VisionGauge® Digital Optical Comparator has just appeared in Modern Machine Shop.
Larger Digital Comparator Model with Trunnion-Table Design
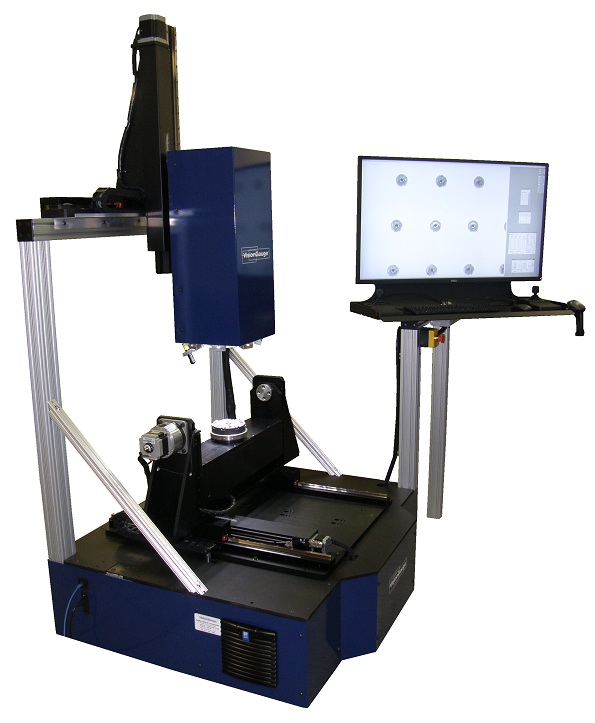
The article is also available in pdf format.
Digital Optical Comparators
A new article about the Extended Travel 700-Series VisionGauge® Digital Optical Comparator has just appeared in Modern Machine Shop.

The article is also available in pdf format.
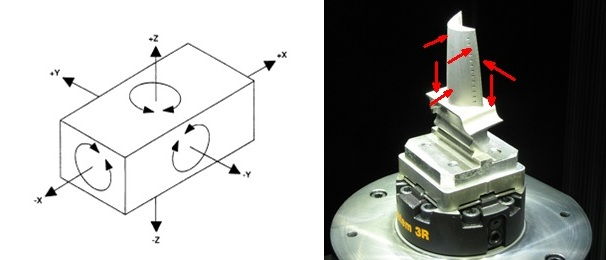
To be able to report the absolute location of a feature (such as cooling holes) on a part, a measurement system needs to know the location of the datums relative to which these locations are expressed. Five-axis parts use a six-point datum structure to set the position along the three Cartesian axes as well as the rotation about each of these three axes.
There are two different approaches to establish these datums. The first approach consists in using a fixture that physically comes into contact with the six datum points. And because the fixture is generally designed to easily line up with the un-rotated Cartesian axes (along the fixture’s straight edges, for example or using locator holes, tooling balls or other appropriately-designed simple features), it is quite simple to “zero out” the system’s 5 axes of motion (i.e. X, Y, Z, A and B). So with this first approach, the fixture physically sets the location of the datums in space.
With the second approach, a generally simpler fixture is used to only roughly position the part. So with this approach, features on the fixture are still used to “zero out” the system’s 5 axes of motion, but the resulting coordinate system is only approximate. For every part, the system still needs to accurately locate the datums and mathematically re-orient the part (in a way analogous to how a physical 6-point fixture physically reorients the part in space).
The VisionGauge® Digital Optical Comparator’s “Part Reorientation” tool is a powerful and intuitive tool to carry out 6-point iterative alignment. It uses the 700 Series’ LASER module to accurately locate the part’s surface at the datums, even on parts with complex geometries. The tool converges quickly to a stable and accurate solution. And it is extremely simple to then apply the corrections to part inspection programs. The tool also allows you to set limits on the corrections (to ensure collision-avoidance, for example).

Please note that a new article about the 5-axis 700 series VisionGauge® Digital Optical Comparator has just appeared in the February 2016 edition of Aerospace and Defense Technology:
You can also download the article in .pdf format.

Please note that updated information is available for the extended-travel 5-axis 700 Series VisionGauge® machine.
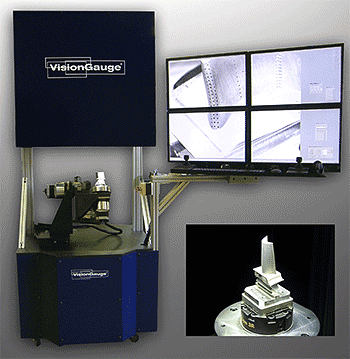
This is a trunnion-based machine. It has a 24″ x 24″ x 24″ envelope and is designed to accommodate parts that weigh up to 100 lbs.

Note that you can obtain an updated product brochure (with specifications, etc) in .pdf format.
Also, you can see a video about our 5-axis 700 Series VisionGauge® systems below:
The extended-travel 5-axis 700 Series VisionGauge® machine is the perfect solution for a number of applications, including the inspection of cooling holes in IGT (Industrial Gas Turbine) parts.
A new “case study” article about the 5-axis 700 series VisionGauge® Digital Optical Comparator has just appeared in the September 2015 edition of Manufacturing Engineering – Aerospace & Defense 2015 Yearbook:
In this case study, Paradigm Precision (a large aerospace sub-contractor to GE, UT, Rolls Royce and many others) explains how they are using the VisionGauge® system to carry out 100% inspection of cooling holes on a wide range of complex 5-axis parts, including blades, vanes and heat shields.
They mention that they are achieving a repeatability of +/-0.0001″.
You can also download the article in .pdf format.

Please note that a new article about the VisionGauge® Digital Optical Comparator has just appeared in the May 2015 edition of Today’s Medical Developments:
You can also download the article in .pdf format.
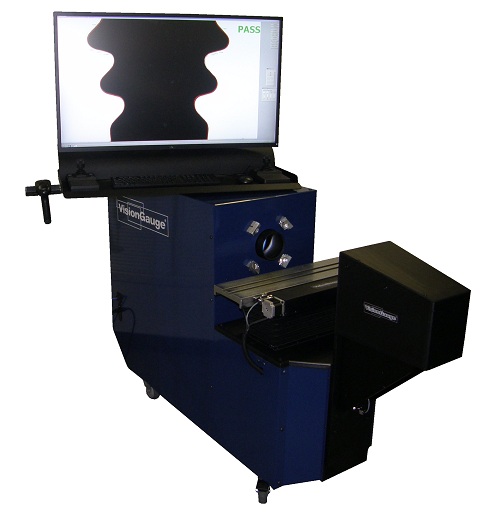
Please note that a new article about the 5-axis 700 series VisionGauge® Digital Optical Comparator has just appeared in the February 2015 edition of Quality Digest:
You can also download the article in .pdf format.
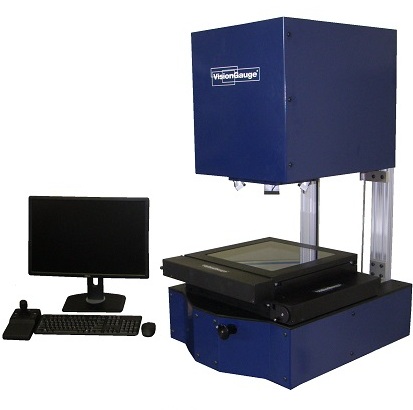
We are very pleased to announce a new product: the 400 Series VisionGauge® Digital Optical Comparator.
This is a very cost-effective, full-featured system that has all of the advanced VisionGauge® software capabilities, including our patented CAD Auto-Align™ and CAD Auto-Pass/Fail™ tools. Furthermore, the 400 Series is a compact desktop system that still provides a full-sized working envelope.
The 400 Series provides the same accuracy as the 500 Series machine and can work with parts as large as those supported by standard-travel 500 Series machines. The main difference is that the 400 Series has manual X, Y and Z axes, a single monitor and a single-magnification 20X lens. As such, this system is especially well suited for lower volume and lower throughput applications.
Please see the brochure for more product information.
This new product will officially be launched at IMTS where we will be showing it for the first time. We look forward to seeing you there and showing you our growing range of products.
Please note that we have developed a new 40X magnification of our 300 Series VisionGauge® Digital Optical Comparator.
This new higher-magnification configuration was developed to meet the requirements of various higher-magnification applications, such as the fast and accurate inspection and measurement of diamond Electrical Discharge Machined Polycrystalline Diamond (PCD) and Cubic Boron Nitride (CBN) cutting tool inserts.
Updated 300 Series literature may be found in .pdf format here.
