Z-axis Laser Measurements VisionGauge® Digital Optical Comparators
Z-Axis LASER Measurement Module
VisionGauge® Digital Optical Comparators are available with an optional Z-Axis LASER Measurement Modules.
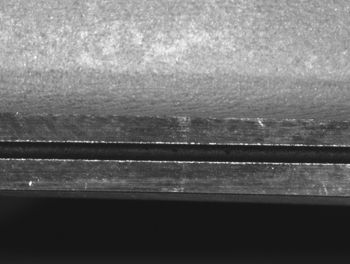
In the application below, for example, the VisionGauge® Digital Optical Comparator is used to measure the depth of slots in aircraft engine turbine blades. Without the Z-Axis LASER Measurement Module (i.e. the image on the left below), it is only possible to measure XY dimensions on the part (for example: the slot width).
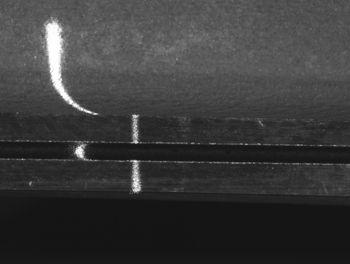
However, with the Z-Axis LASER Measurement Module (i.e. the image on the right below), the part's z-axis depth & height variations can all be measured, easily & accurately.


Please contact us for more information including a detailed spec sheet, a "Frequently Asked Questions" document, pricing, etc...