The modern manufacturing industry relies heavily on optical inspection to verify parts are meeting compliance standards. This procedure uses optical comparator technology to compare a part to its computer-aided design (CAD) file. Optical comparators have been around since the 1920s, and the modern units’ operations are still similar. However, as technology advances, the need for physical optical comparator mylar overlays is diminishing.
This guide will explain why mylar overlays are essential to traditional optical comparators, and how digital optical comparators are eliminating the need for mylar overlay charts.
The Role of Optical Comparator Mylar Overlays
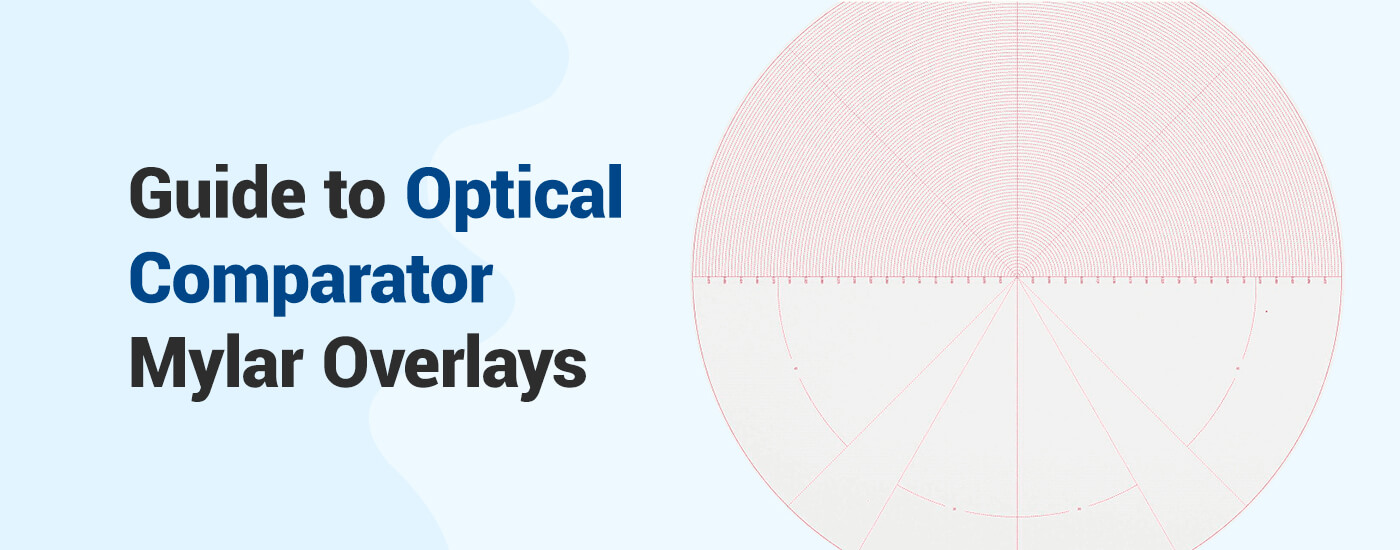
Mylar overlays are transparent charts that are used to manually compare a machine’s part with its CAD drawing. Optical comparator overlays serve as a guide for comparison. They help the optical comparator operators take measurements of a given part and determine if the part’s critical dimensions are within specifications or if the part has sustained any damage and should be replaced.
Although time-consuming, using traditional optical comparators is quite simple:
- An operator turns on the optical comparator and places the desired part in the staging area to be observed.
- Once the image is displayed, the operator places the corresponding overlay on the screen and physically aligns it with the projected image of the part.
- Finally, the operator manually compares the CAD drawing on the overlay to the part’s image. If there are any discrepancies identified in the part, the operator has to determine if it is still within tolerance to operate safely.
How to Choose a Mylar Overlay
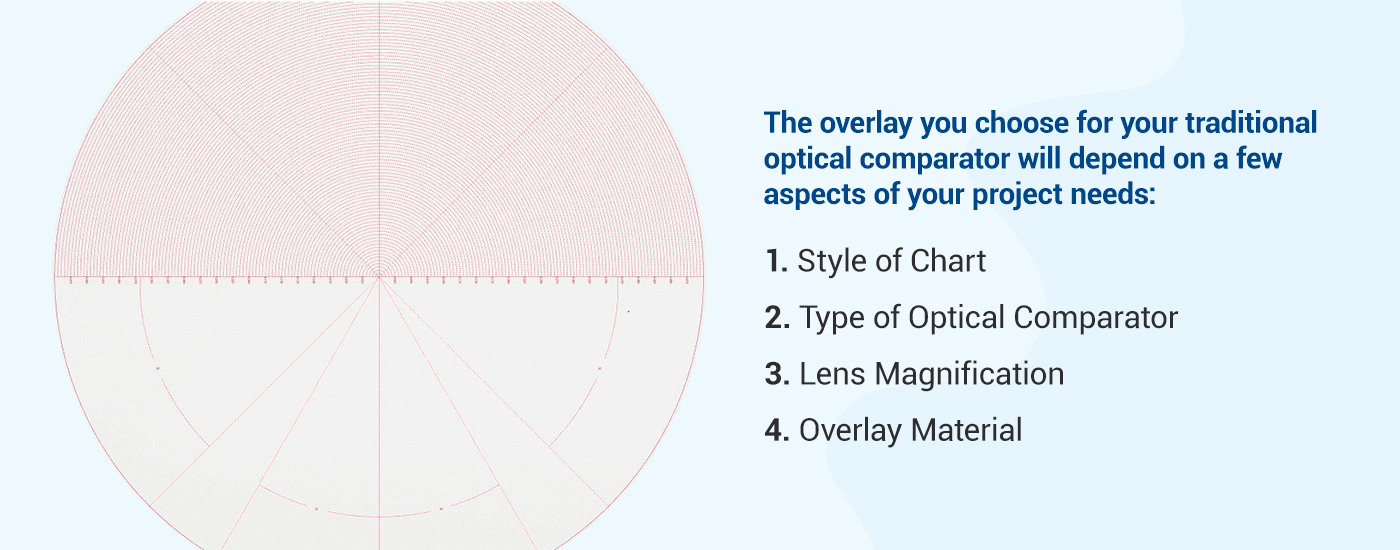
The optical comparator overlays you choose will depend on a few aspects of your project needs:
1. Style of Chart
In addition to mylar overlays with CAD charts on them, overlays can be printed with different grids or angle measurements. These overlays are used to take precise measurements of a part’s radius or angles. These other styles of overlay charts can be as simple as a four-quadrant grid or as complex as charts for checking a screw’s thread forms. Other charts can be printed with 360-degree protractor lines or angle measurements of your choice — or even a combination of the two.
2. Type of Optical Comparator
When ordering an overlay, you’ll want to specify what model and type of comparator you’ll use the overlay with. Some optical comparators are compatible with specific materials, overlay sizes, or thicknesses.
3. Lens Magnification
It’s essential to consider the magnification you’ll be viewing the images or CAD files at. If the overlay is printed with the wrong magnification in mind, the operator will be unable to take accurate measurements or make an accurate assessment of a part. The magnification scale can also vary depending on the machine, the overlay manufacturer, and the material used.
4. Overlay Material
Optical comparator overlays can be made of various materials. The most common material is a mylar sheet. Overlays can also be made with plastic or vinyl. Different materials will have different thicknesses, which could affect how the overlay works with the optical comparator. It’s also common for overlays to have either a frosted or clear finish, affecting the visibility of a chart on the projector.
Digital Optical Comparators
Digital optical comparators are becoming increasingly popular and necessary as machinery gets more advanced. Digital comparators are far more efficient because they eliminate the need for mylar overlays.
Traditional mylar overlays are easily damaged, especially when handled frequently. Because of the sheer number of overlays needed for each piece of machinery, storage for the overlays requires a significant amount of space. This also means that if an overlay is misfiled, locating it can be time-consuming, which delays the inspection process. Mylar overlays are expensive to make, and when product designs change, the cost of replacements can add up quickly.
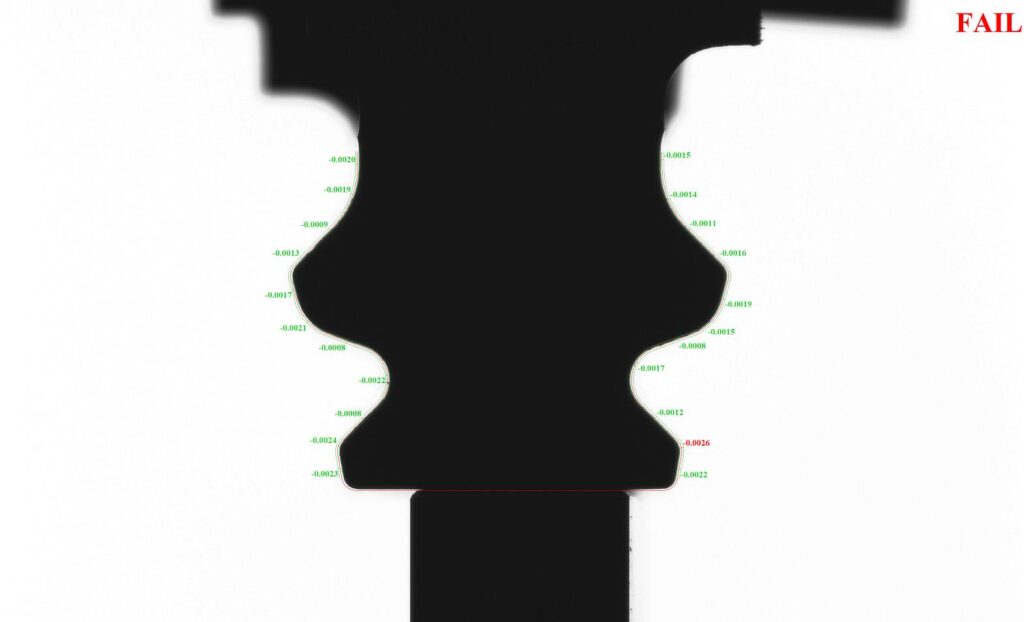
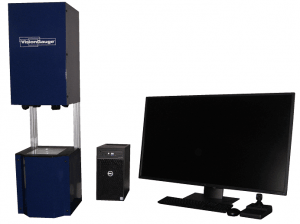
A digital optical comparator uses digital CAD charts and an internal projector to display a part’s image. The virtual charts can automatically adjust to changes in magnification — an operation that would normally require the overlays to be physically changed. Also, digital CAD charts can be automatically aligned on a part, automatically compare the part to the overlay, and can stay aligned as a part moves by automatically tracking/moving with the part. Since the digital CAD charts are used directly, when designs change, there’s no need to make a new mylar overlay. CAD files can be limitlessly imported and easily accessed and stored on a secure network, making the automatic part comparisons that much faster.
Digital Optical Comparator Benefits
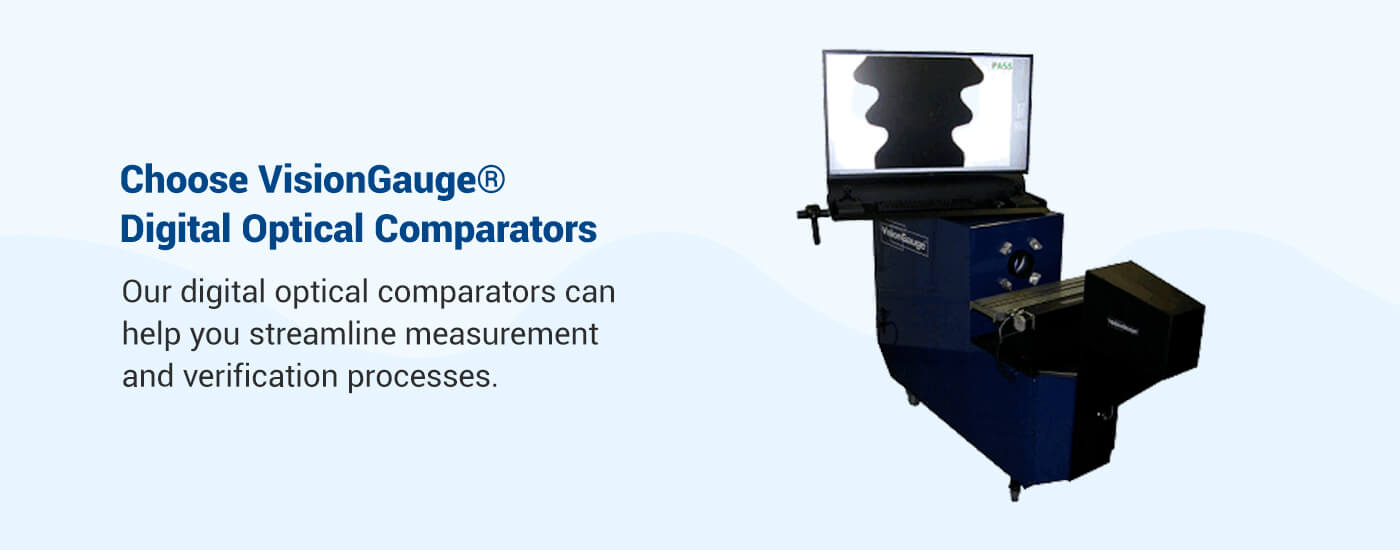
Digital optical comparators, like the VisionGauge® Digital Optical Comparator, can benefit many manufacturing industries, including medical and orthopedic, automotive, biomedical, electronics, telecommunications, power and energy, and more. Some essential benefits include simplified use, improved accuracy, and full automation:
1. Simplified Use
If you thought traditional comparators were easy to operate, digital optical comparators are incredibly simple to use in comparison. The operator only has to complete one step — position the part on the staging area. The digital optical comparator’s advanced software takes care of the rest. Digital comparators work directly with CAD files, which eliminates the need for tedious overlays or templates. Without the need for overlays, the process becomes simple and automated.
2. Improved Accuracy
Because they are digital, these optical comparators are exceedingly accurate. The automation of the digital optical comparator functions eliminates the potential for human error when taking detailed measurements. Digital comparators are also equipped with software that provides detailed documentation of statistics, measurements, and a record of pass/fail results. This information is then safely stored on a secure network.
3. Fully Automated
One of the most significant benefits of digital comparators is that they are fully automated. Using fast software and cameras, digital optical comparators analyze and measure parts automatically. Within seconds, the system aligns the part with its CAD drawing and compares the two. The automatic functions allow operators to increase throughput with fast comparisons.
4. Additional Benefits
More benefits of the VisionGauge® Digital Optical Comparators include:
- Electronic documentation and reports
- Smaller footprint than traditional comparators
- Advanced patented technology, including CAD Auto-Align and CAD Auto-Pass/Fail tools
- Easy installation
- Superior-quality images
- Eliminate the need for optical comparator overlay charts
- Highly reliable
- Support for automated rotation for multiple views of the same part
- Automatically analyze multiple parts
Choose VisionGauge® Digital Optical Comparators
At VISIONx, Inc., our goal is to help your company’s inspection process become accurate, fast, and effective. VisionGauge® Digital Optical Comparators can help you streamline measurement and verification processes so your employees can quickly complete more tasks with high accuracy and reliability. Our operator-independent technology allows for a wide range of automatic results.
In addition to our state-of-the-art optical comparators, we also develop, sell, and support software, hardware, and other systems for all your inspection, measurement, and imaging needs. No matter what industry you’re in, you can rely on VISIONx, Inc. for standard or custom solutions. Browse our available products or contact us for more information today.

