6-Point Iterative Alignment on the VisionGauge® 700 Series 5-Axis Inspection & Measurement System
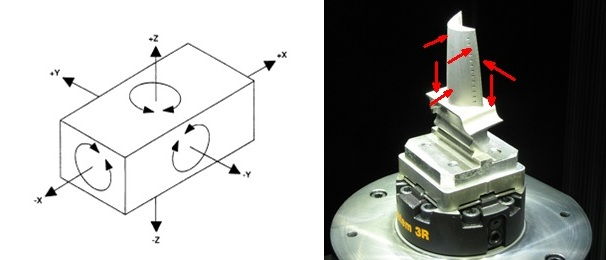
To be able to report the absolute location of a feature (such as cooling holes) on a part, a measurement system needs to know the location of the datums relative to which these locations are expressed. Five-axis parts use a six-point datum structure to set the position along the three Cartesian axes as well as the rotation about each of these three axes.
There are two different approaches to establish these datums. The first approach consists in using a fixture that physically comes into contact with the six datum points. And because the fixture is generally designed to easily line up with the un-rotated Cartesian axes (along the fixture’s straight edges, for example or using locator holes, tooling balls or other appropriately-designed simple features), it is quite simple to “zero out” the system’s 5 axes of motion (i.e. X, Y, Z, A and B). So with this first approach, the fixture physically sets the location of the datums in space.
With the second approach, a generally simpler fixture is used to only roughly position the part. So with this approach, features on the fixture are still used to “zero out” the system’s 5 axes of motion, but the resulting coordinate system is only approximate. For every part, the system still needs to accurately locate the datums and mathematically re-orient the part (in a way analogous to how a physical 6-point fixture physically reorients the part in space).
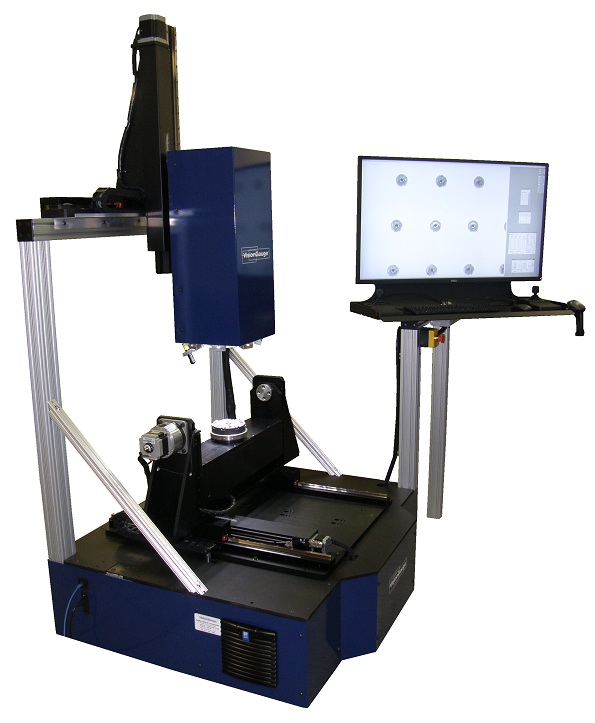
The VisionGauge® Digital Optical Comparator’s “Part Reorientation” tool is a powerful and intuitive tool to carry out 6-point iterative alignment. It uses the 700 Series’ LASER module to accurately locate the part’s surface at the datums, even on parts with complex geometries. The tool converges quickly to a stable and accurate solution. And it is extremely simple to then apply the corrections to part inspection programs. The tool also allows you to set limits on the corrections (to ensure collision-avoidance, for example).

